All Categories
Featured
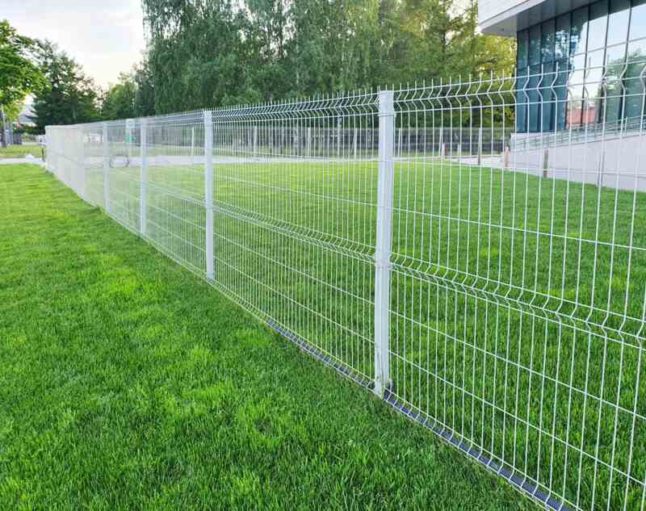
A leaning or harmed fencing blog post can be both a protection and an eyesore worry. Over time, weather condition conditions, soil shifts, or also the natural aging of materials can trigger a fencing article to lean or damage.
![]()
Shovel. Blog post opening digger (optional for deeper holes) Level. Concrete mix (quick-setting is optimal) Gravel (for drainage, optional) Sledgehammer or article puller (for persistent posts) If enhancing the article), a 2x4 brace (. Safety gloves and safety glasses. Having all these materials prepared will make the task much easier and quicker.
Concrete: Among the most reliable methods to protect an article is by putting concrete around the base. Mix quick-setting concrete according to the instructions on the bag, after that put it around the blog post, seeing to it the article stays straight and level. You ought to load the opening with the concrete blend, leaving regarding 2-3 inches of space at the top for a final layer of dirt. Let the concrete set for at the very least 24 hours to make sure the message is well fixed.
Gravel: If you like a simpler, more adaptable option, you can utilize gravel around the post for far better drainage and assistance. Fill the hole with gravel, ensuring the article is aligned correctly. Compact the crushed rock firmly to maintain the message in place. This approach likewise aids protect against future water damage given that the gravel will allow dampness to drain pipes away from the post.
Action 1: Get rid of the old, damaged post. If the message is set in concrete, make use of an article puller or sledgehammer to loosen up the concrete and get rid of the blog post. Action 2: Once the article is removed, dig a new opening if needed. The hole ought to be about 2-3 feet deep, depending upon the size of your brand-new article and the sort of dirt you're working with. Action 3: Put the brand-new message into the hole, making certain that it is degree and aligned with the remainder of the fencing messages. Step 4: Load the hole with concrete or crushed rock as explained previously, making certain that the new article is firmly anchored. 7. Add Support Braces (Optional) If you're worried concerning the future security of the blog post, you can add a support to supply added support. Connect a 2x4 or similar item of wood to the post at a diagonal angle, securing the other end to a neighboring fence blog post or the ground. This will protect against any type of future leaning and provide the post much more architectural honesty while the concrete treatments or crushed rock settles.
![]()
Conclusion. Taking care of a leaning or damaged fence post does not have to be a daunting task. By adhering to these basic steps-- evaluating the damages, excavating around the article, and reinforcing it with concrete or crushed rock-- you can restore your fence message to its upright setting.
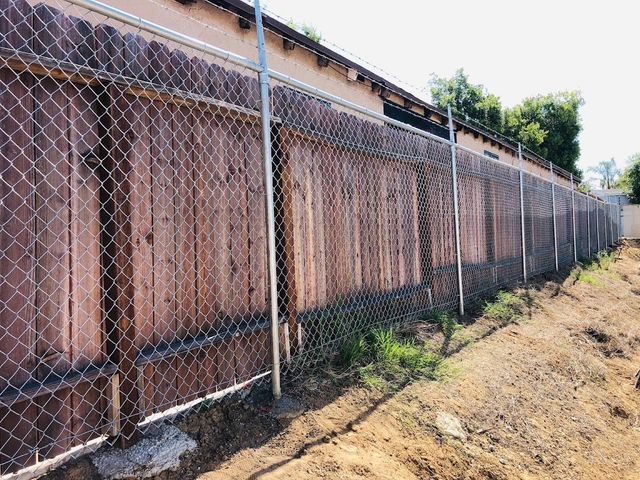
- Assess the Damages. Before delving into repair services, take a great look at the issue. It may simply need to be realigned and enhanced if your fence post is leaning. If the blog post is rotted, split, or damaged, it may need replacing. Examine the article for indications of rot, especially at the base. Evaluate the surrounding dirt to see if erosion or shifting ground is the cause of the leaning.
- Collect Necessary Devices and Products. To take care of the message, you'll need a couple of standard devices and products:
Shovel. Blog post opening digger (optional for deeper holes) Level. Concrete mix (quick-setting is optimal) Gravel (for drainage, optional) Sledgehammer or article puller (for persistent posts) If enhancing the article), a 2x4 brace (. Safety gloves and safety glasses. Having all these materials prepared will make the task much easier and quicker.
- Dig Around the Base of the Blog post. To fix the leaning article, you'll require to reveal the base of the message. If the post is deeply ingrained in concrete, you might require to dig deeper or utilize an article puller to remove it.
- Correct the Blog post. As soon as the base of the post is subjected, it's time to straighten it. Utilize a degree to guarantee the blog post is vertical, changing it as required.
- Reinforce the Blog post. As soon as the blog post is in the proper setting, you'll need to reinforce it to stop it from leaning once again. You can do this in a pair of methods:
Concrete: Among the most reliable methods to protect an article is by putting concrete around the base. Mix quick-setting concrete according to the instructions on the bag, after that put it around the blog post, seeing to it the article stays straight and level. You ought to load the opening with the concrete blend, leaving regarding 2-3 inches of space at the top for a final layer of dirt. Let the concrete set for at the very least 24 hours to make sure the message is well fixed.
Gravel: If you like a simpler, more adaptable option, you can utilize gravel around the post for far better drainage and assistance. Fill the hole with gravel, ensuring the article is aligned correctly. Compact the crushed rock firmly to maintain the message in place. This approach likewise aids protect against future water damage given that the gravel will allow dampness to drain pipes away from the post.
- If Necessary), change a Damaged Blog Post (. Repairing it might not be possible if the message is significantly rotted or damaged. In this case, changing the message is your finest choice. Below's how to change a damaged fencing post:
Action 1: Get rid of the old, damaged post. If the message is set in concrete, make use of an article puller or sledgehammer to loosen up the concrete and get rid of the blog post. Action 2: Once the article is removed, dig a new opening if needed. The hole ought to be about 2-3 feet deep, depending upon the size of your brand-new article and the sort of dirt you're working with. Action 3: Put the brand-new message into the hole, making certain that it is degree and aligned with the remainder of the fencing messages. Step 4: Load the hole with concrete or crushed rock as explained previously, making certain that the new article is firmly anchored. 7. Add Support Braces (Optional) If you're worried concerning the future security of the blog post, you can add a support to supply added support. Connect a 2x4 or similar item of wood to the post at a diagonal angle, securing the other end to a neighboring fence blog post or the ground. This will protect against any type of future leaning and provide the post much more architectural honesty while the concrete treatments or crushed rock settles.
- Check for Future Stability. When the blog post is fixed or changed, check it regularly to guarantee that it continues to be safe and secure and upright. Inspect the bordering dirt for erosion or moving, and resolve any type of problems quickly to stop more damage.
Conclusion. Taking care of a leaning or damaged fence post does not have to be a daunting task. By adhering to these basic steps-- evaluating the damages, excavating around the article, and reinforcing it with concrete or crushed rock-- you can restore your fence message to its upright setting.
Latest Posts
Experience the Elegance of Hardwood Floor Covering with Carpet Interiors Floor & Home
Published Apr 19, 25
1 min read
Full-Service Auto Repairs at Montclare Auto Repair - Explore Now
Published Apr 19, 25
2 min read
Discover the Experts Behind Montclare Auto Repair - Committed to Excellence
Published Apr 19, 25
2 min read
More
Latest Posts
Experience the Elegance of Hardwood Floor Covering with Carpet Interiors Floor & Home
Published Apr 19, 25
1 min read
Full-Service Auto Repairs at Montclare Auto Repair - Explore Now
Published Apr 19, 25
2 min read
Discover the Experts Behind Montclare Auto Repair - Committed to Excellence
Published Apr 19, 25
2 min read