All Categories
Featured
A leaning or harmed fencing message can be a significant trouble, affecting the stability of your entire fence. Whether due to weather, aging, or exterior stress, a leaning fence blog post can trigger a sagging or uneven look that not only endangers your fence's honesty yet additionally its safety and security. Luckily, repairing a leaning or harmed fencing post is a workable do it yourself job. Right here's exactly how to take on the problem and recover your fence to its original condition.
![]()
Soil erosion: Gradually, the soil around the base of the post might wear down due to hefty rainfall or flooding, triggering the blog post to lean. Rot: Wood fencing blog posts can rot at the base due to extended direct exposure to dampness, leading to instability. Stress: External forces such as wind, the weight of the fencing, or leaning branches can cause the message to break or lean. You can choose the most ideal repair. once you've identified the type of damage.
Pour the concrete around the base of the article, filling up the hole. Make sure the blog post stays level as the concrete sets.
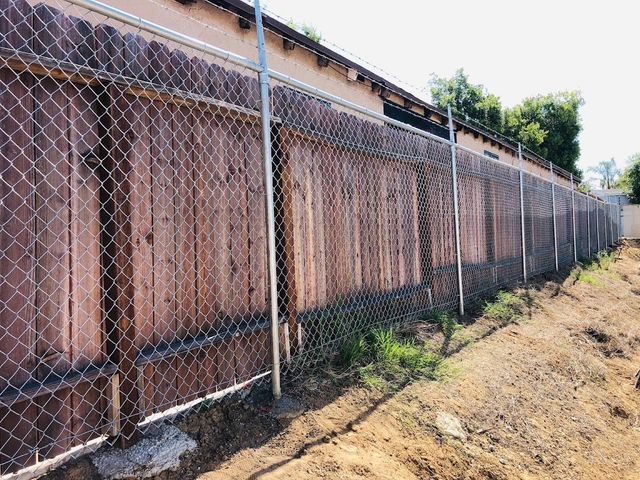
Option 2: Gravel: If you like a quicker, much less long-term solution, you can utilize crushed rock rather than concrete. Pour crushed rock around the base of the blog post, making certain it's packed securely. This alternative permits better water drainage around the base, which can protect against additional rot and leaning in the future.
![]()
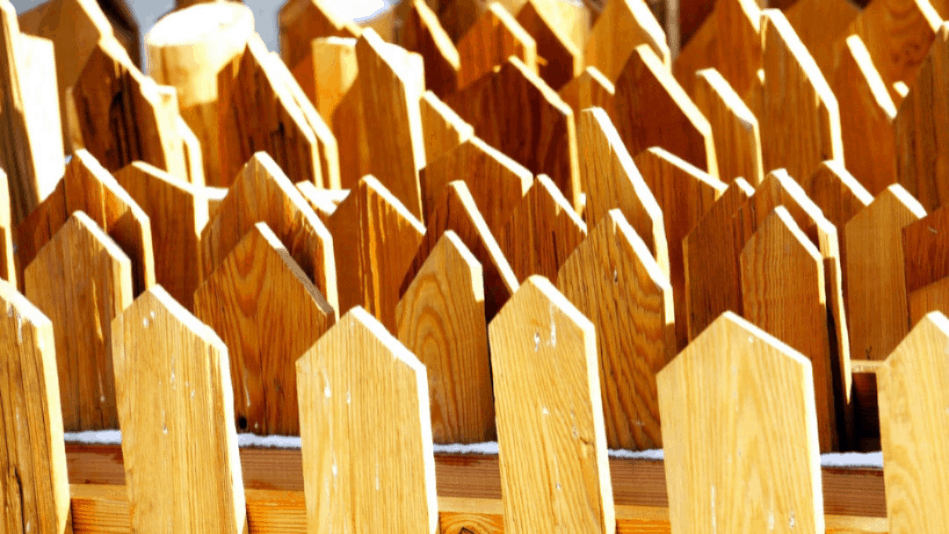
Step 1: Eliminate the damaged or decayed post by loosening up the concrete or gravel around it utilizing a sledgehammer or blog post puller. Action 2: Once the post is removed, prepare the hole for the new article by ensuring it's deep enough to accommodate the new post and the product for reinforcement (concrete or crushed rock) Action 3: Mount the new message in the opening, seeing to it it's level and straightened with the other messages. Step 4: Comply with the same actions for protecting the brand-new article as detailed earlier, either making use of concrete or gravel for security. 6. If Needed), strengthen with Dental Braces (. Consider strengthening it with additional assistance if the blog post is still not stable after straightening and securing it. You can use a diagonal brace to hold the post upright till the concrete totally sets or as a long-term reinforcement. Attach one end of the support to the top of the post and the other end to a nearby fencing article or strong support. This will certainly stop the article from leaning once again.
![]()
Conclusion. Repairing a leaning or damaged fencing post is an easy yet satisfying job that can restore your fence's security and look. By complying with these steps and attending to the origin of the concern, you can guarantee that your fence stays protected and upright for many years to come. Whether you're correcting the alignment of a leaning post or changing one that's irreparable, dealing with your fencing posts immediately will aid you maintain the integrity and security of your fence.
- Evaluate the Damage. Before you begin fixing the leaning fencing post, it is very important to analyze the damages extensively. Determine whether the article is just leaning or if it's fractured, rotted, or broken at the base. Usual reasons for leaning fencing messages include:
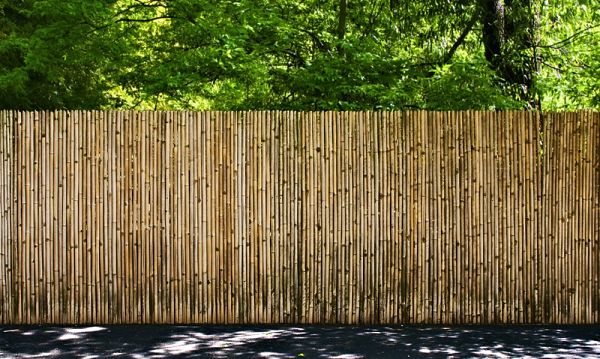
Soil erosion: Gradually, the soil around the base of the post might wear down due to hefty rainfall or flooding, triggering the blog post to lean. Rot: Wood fencing blog posts can rot at the base due to extended direct exposure to dampness, leading to instability. Stress: External forces such as wind, the weight of the fencing, or leaning branches can cause the message to break or lean. You can choose the most ideal repair. once you've identified the type of damage.
- Dig Around the Base of the Post. To deal with a leaning blog post, you'll require to reveal the base. Start by digging around the base of the post with a shovel, producing a hole regarding 12 inches large and 18 to 24 inches deep. Take care not to damage the article further as you dig. You want to see to it the soil surrounding the blog post hangs sufficient to permit repositioning or extra support.
- Straighten out the Blog post. If the article is only leaning and not drastically harmed, you can align it before securing it once again. Make use of a degree to make sure the post is aligned properly, making certain it's upright. You may need a helper for this step to maintain the post in position while you add support.
- Add New Concrete or Crushed Rock. To strengthen the article and stop future leaning, you will need to add new concrete or gravel to the base. Below's how to do it:
Pour the concrete around the base of the article, filling up the hole. Make sure the blog post stays level as the concrete sets.
Option 2: Gravel: If you like a quicker, much less long-term solution, you can utilize crushed rock rather than concrete. Pour crushed rock around the base of the blog post, making certain it's packed securely. This alternative permits better water drainage around the base, which can protect against additional rot and leaning in the future.
- Replace the Message (If Necessary) It may be best to replace the message totally if the article is drastically damaged or decomposed at the base. This procedure involves removing the harmed article, which can be testing if it's deeply embedded in concrete or gravel. Below's exactly how to change it:
Step 1: Eliminate the damaged or decayed post by loosening up the concrete or gravel around it utilizing a sledgehammer or blog post puller. Action 2: Once the post is removed, prepare the hole for the new article by ensuring it's deep enough to accommodate the new post and the product for reinforcement (concrete or crushed rock) Action 3: Mount the new message in the opening, seeing to it it's level and straightened with the other messages. Step 4: Comply with the same actions for protecting the brand-new article as detailed earlier, either making use of concrete or gravel for security. 6. If Needed), strengthen with Dental Braces (. Consider strengthening it with additional assistance if the blog post is still not stable after straightening and securing it. You can use a diagonal brace to hold the post upright till the concrete totally sets or as a long-term reinforcement. Attach one end of the support to the top of the post and the other end to a nearby fencing article or strong support. This will certainly stop the article from leaning once again.
- Regular Upkeep. When the leaning post is taken care of, see to it to routinely examine the articles for indicators of damages or leaning. Examine the condition of the wood or various other materials utilized in your fencing to stop future issues. If you reside in an area vulnerable to hefty rains or dirt erosion, consider adding extra support to your articles by utilizing concrete or gravel and making certain proper water drainage around the posts.
Conclusion. Repairing a leaning or damaged fencing post is an easy yet satisfying job that can restore your fence's security and look. By complying with these steps and attending to the origin of the concern, you can guarantee that your fence stays protected and upright for many years to come. Whether you're correcting the alignment of a leaning post or changing one that's irreparable, dealing with your fencing posts immediately will aid you maintain the integrity and security of your fence.
Latest Posts
Eco-Friendly Bathroom Remodels with Bath Fitter
Published Apr 20, 25
1 min read
Why Trust NAPA AutoCare? Montclare Auto Repair Is Your Trusted Choice
Published Apr 20, 25
2 min read
Experience the Elegance of Hardwood Floor Covering with Carpet Interiors Floor & Home
Published Apr 19, 25
1 min read
More
Latest Posts
Eco-Friendly Bathroom Remodels with Bath Fitter
Published Apr 20, 25
1 min read
Why Trust NAPA AutoCare? Montclare Auto Repair Is Your Trusted Choice
Published Apr 20, 25
2 min read
Experience the Elegance of Hardwood Floor Covering with Carpet Interiors Floor & Home
Published Apr 19, 25
1 min read